6 Things to Consider Before Starting Your Makerspace
October 10, 2014
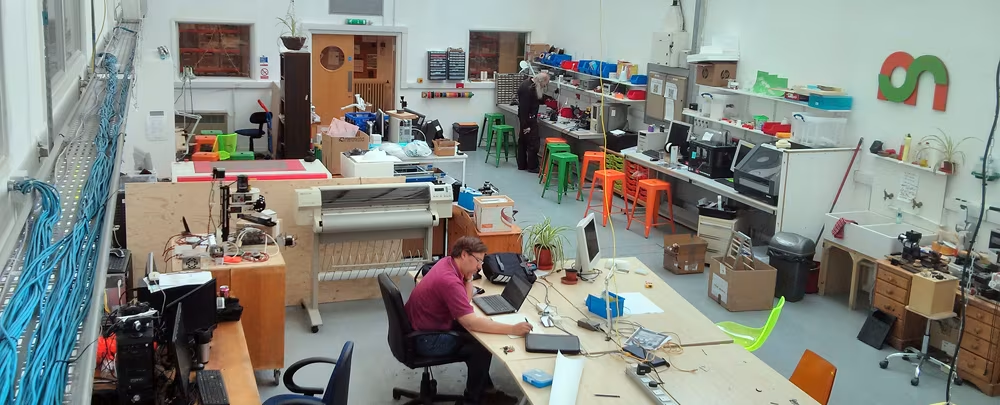
CC BY 2.0 Flickr user LaurieJ
Tom Friedman argues in The World is Flatthat all we really need to know to be successful in life is how to come up with an idea and execute on it. Children have the first part down--they are hardwired for creativity. The challenge is what comes next. That’s what makerspaces teach kids: the confidence and the competence necessary to execute their creative vision.
Makerspaces have made headlines recently. Several weeks ago New York City hosted the World Maker Faire. The White House had its first Maker Faire this summer, and schools and libraries across the country are installing these spaces.
It is certainly tempting to start thinking about all the amazing tools you could put into your makerspace. If you know anything about Makers, you are probably thinking that you need a CNC machine, a 3-D printer, Dremels for everyone and a laser cutter since they are the gateway tool for making things.
But buying a bunch of tools without first stopping to think about how they will be integrated into the culture and curriculum of your school is a recipe for a dusty and underused workshop.
Don’t be tempted by the sexy CNC and laser cutters if you don’t need them. Just taking apart a blender offers a wealth of learning opportunities.From my experience installing makerspaces in several dozen schools, I’ve developed a process that helps you think through your makerspace and how it fits into the culture and curriculum of your school. Skipping this process, or one like it, will almost certainly result in tension, missed teaching opportunities, and overspending.
1. List the hopes, dreams and ideas you and others have for the space. Be sure to include stakeholders such as parents, board members, administration and other members of the community. It’s likely that if you’ve made it this far, there have been lots of conversations about the space. If you need some help, try telling stories about what kids will do in the space and what they will learn. Write down words, sentences, or pictures.
2. Define the skills, knowledge and habits that kids will learn or develop in your space. Then describe what and how the space will help kids develop these skills. For example, if you would like a student to learn the skill of backwards mapping a project to create a plan and a timeline, then how are you actually going to teach this? Or if you want students to have a habit of employing Design Thinking to solve a complex challenge, how are you going to instill this? Similarly, if you want students to be competent on all the tools in the space, how are you going to teach and assess this competence?
3. Define the culture for the space. In other words, how will people behave in the space and how will those standards be communicated? How will you deal with safety around tools? How will you teach in the space and will it be different from other classes? How will you encourage and perhaps even celebrate failure?
4. Based on the culture and the desired skills, knowledge and abilities, determine appropriate integration points in the rest of your curriculum and the life of the school. Sometimes this is as easy as working with the most (or least) enthusiastic teachers. Math and science are fairly straightforward to integrate into a makerspace, but there are many integration points in history, social sciences and art. Where are you going to start?
NEWSLETTERS
STAY AHEAD IN EDUCATION.
Sign up for EdSurge newsletters for timely news, insights and analysis.
5. Based on your integration points, define the arc of the year and the projects you are going to include. For example, if your kids have never held a hammer or turned a wrench, it might make sense to start with simple skill builders before you get to Arduino robots and electric cars. When you pick the projects, consider how you're going to teach them.
6. Design your space and pick the tools based on the decisions above. When designing the space, remember to consider power requirements, guidelines for safety, restricted areas around tools and what zone needs eye and ear protection. Make sure to include workspace for teams and set aside 30% of the room for project storage. As you think about tools, remember that magic of making can start with hot glue guns, string, soda bottles, soldering irons, hammers, nails and other very inexpensive equipment. Don’t be tempted by the sexy CNC and laser cutters if you don’t need them. Just taking apart a blender offers a wealth of learning opportunities.
This process is a lot of work. But going through it dramatically increases the chance that the makerspace will be integrated into your community and used by many. Next month I’ll cover two schools and how this process shaped their experience in creating a maker space.
Popular on Edsurge
Opinion