I got my first taste of "making" in April 2015, when I attended a session on makerspaces at South Dakota's Technology and Innovation in Education conference. For those who don’t know, making is a type of education that has gained a lot of steam in recent years (pardon the pun). The movement is all about providing students with hands-on learning experiences, and makerspaces are the places where the magic happens.
At the conference, participants were given an opportunity to learn about makerspaces first-hand by going from station-to-station and creating. I remember feeling challenged, creative, and engaged—and knowing my students would feel the same if given a similar chance. I also knew creating such a space could be pricey, especially when you start talking about robots, advanced software and 3D printers.
Ultimately, anyone can create a dynamic makerspace—all it takes is a little creativity.But although I was intimidated—and unsure how to pay for everything—the idea of a makerspace remained on my mind. I realized I needed to stop wishing and take action to make the Spearfish Middle School Makerspace a reality. So with some research and resourcefulness—and generous donations—I launched our makerspace for the 2015-2016 school year. Two years and many experiments later, it’s now one of the best parts of our school.
Every school’s makerspace is unique. But for those interested, I would like to share how we got started, what materials we used, and how we paid for it all. Ultimately, anyone can create a dynamic makerspace—all it takes is a little creativity.
Humble beginnings
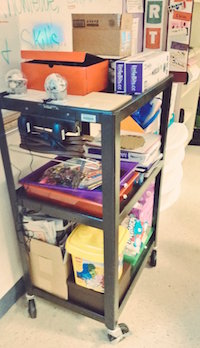
Our makerspace started off in my classroom. We would meet Wednesdays from 3: 30-4: 30 pm, and students in sixth, seventh and eighth grade were welcome to attend. I displayed the daily choices on a SmartBoard (a list on a projector, blackboard or poster would also work) and had a few stations set up for students. Most materials were stored on a rolling cart in my room.
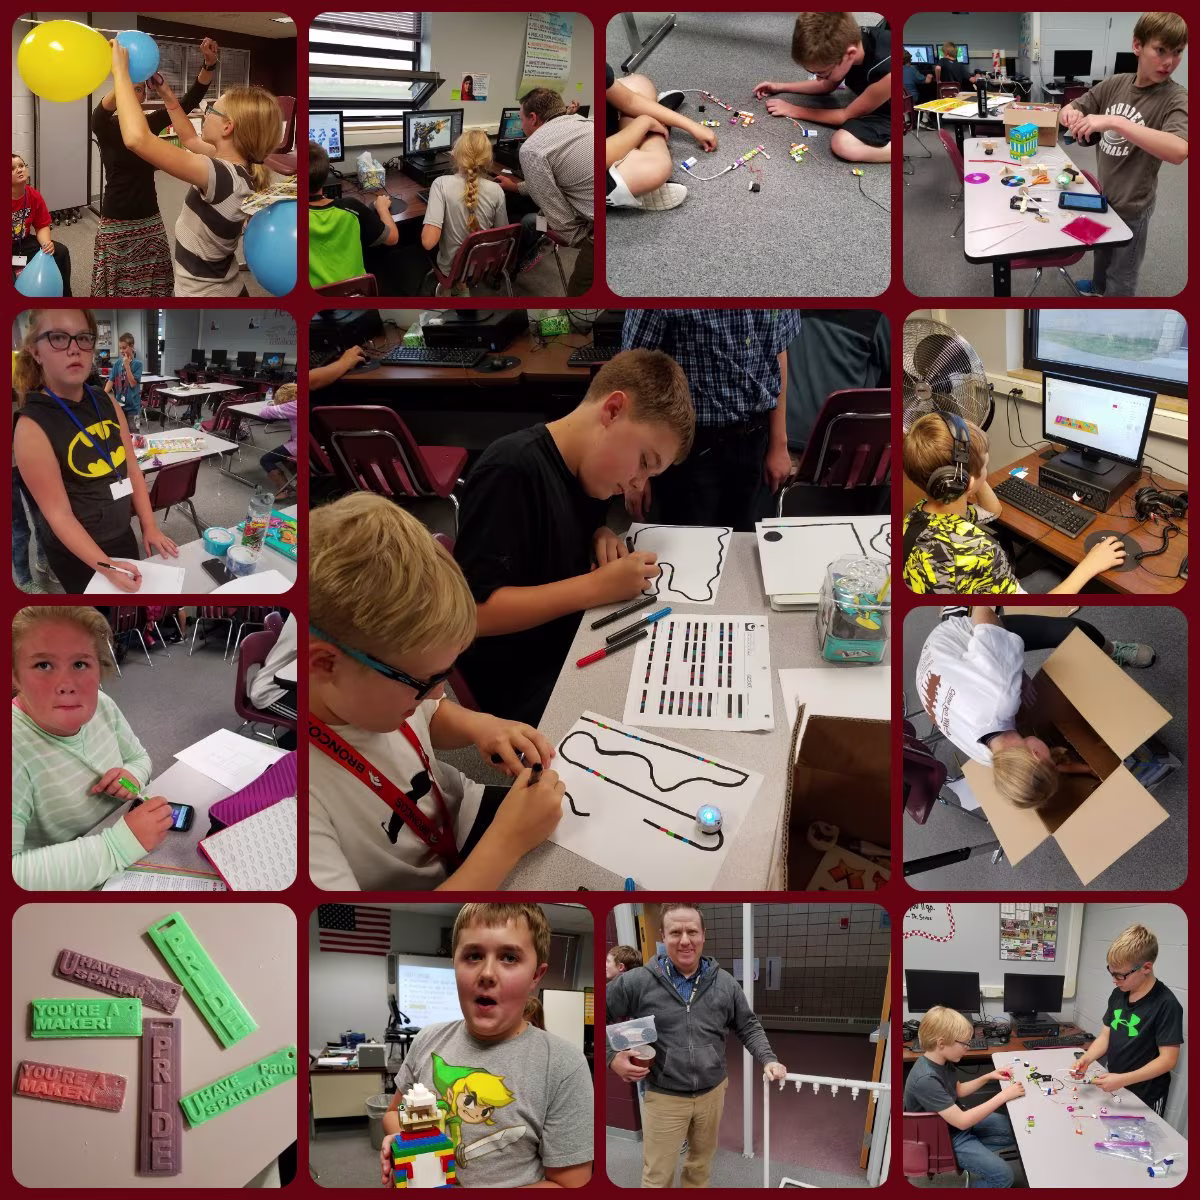
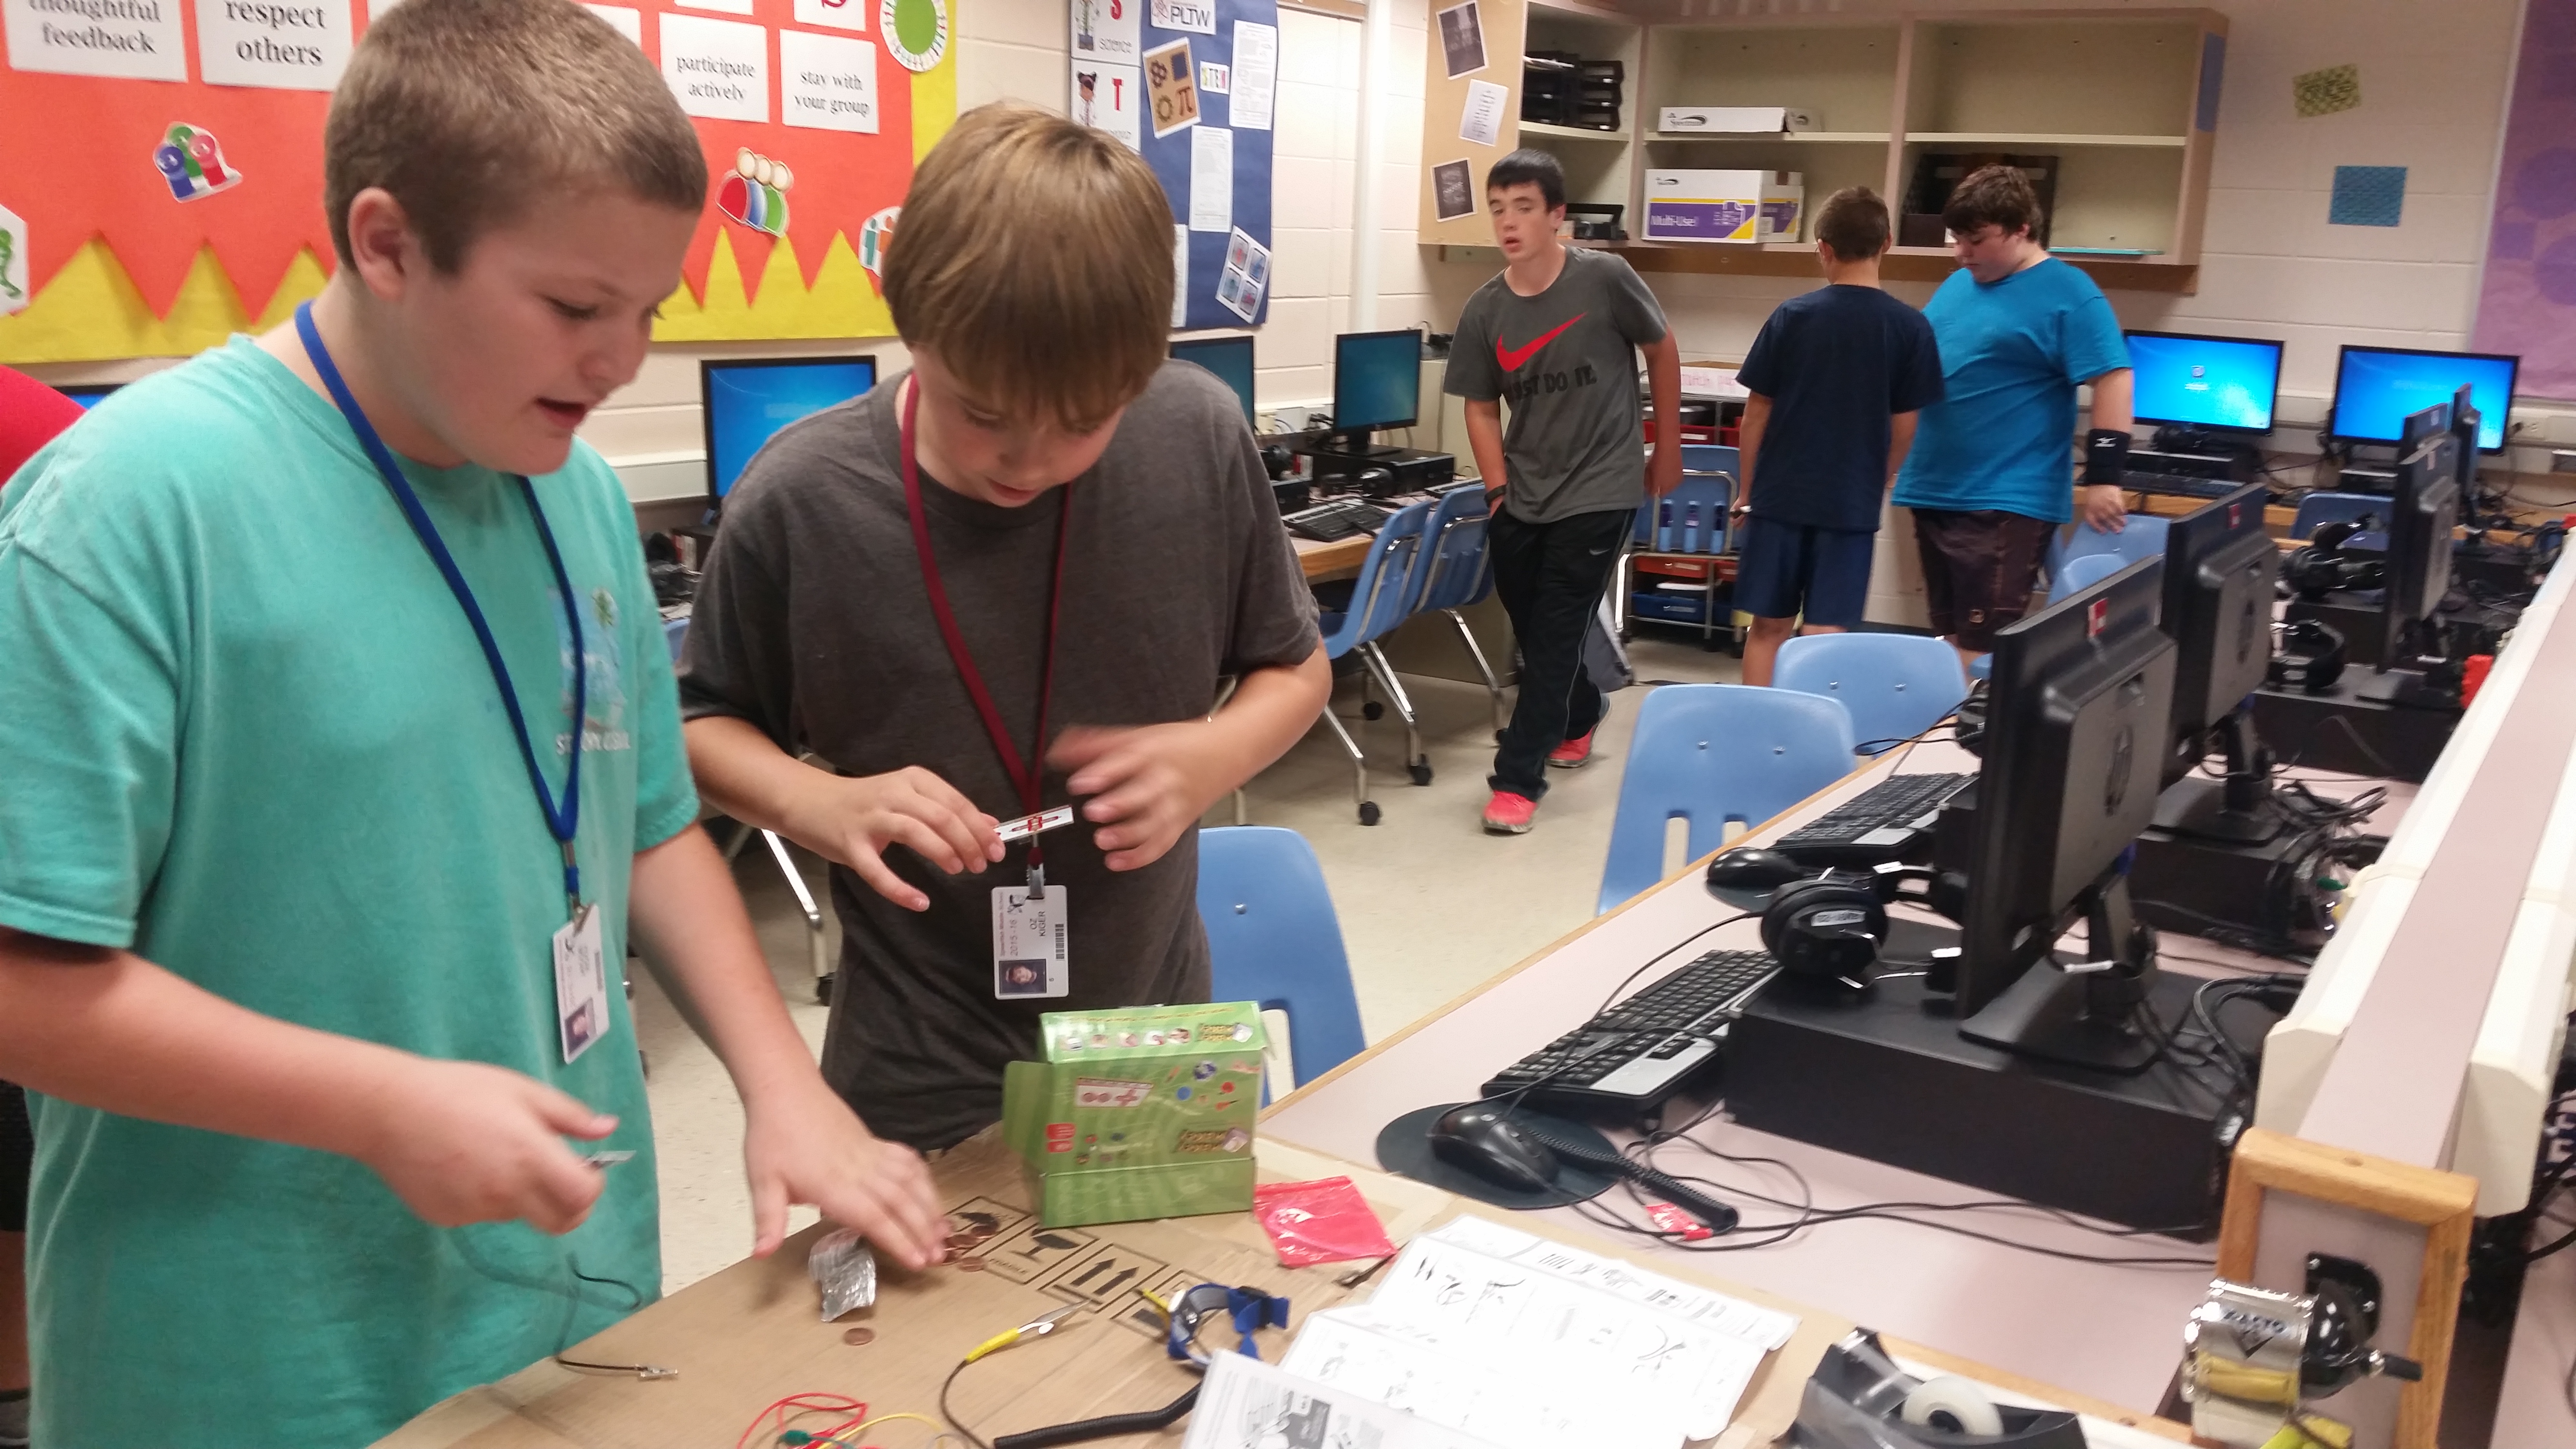
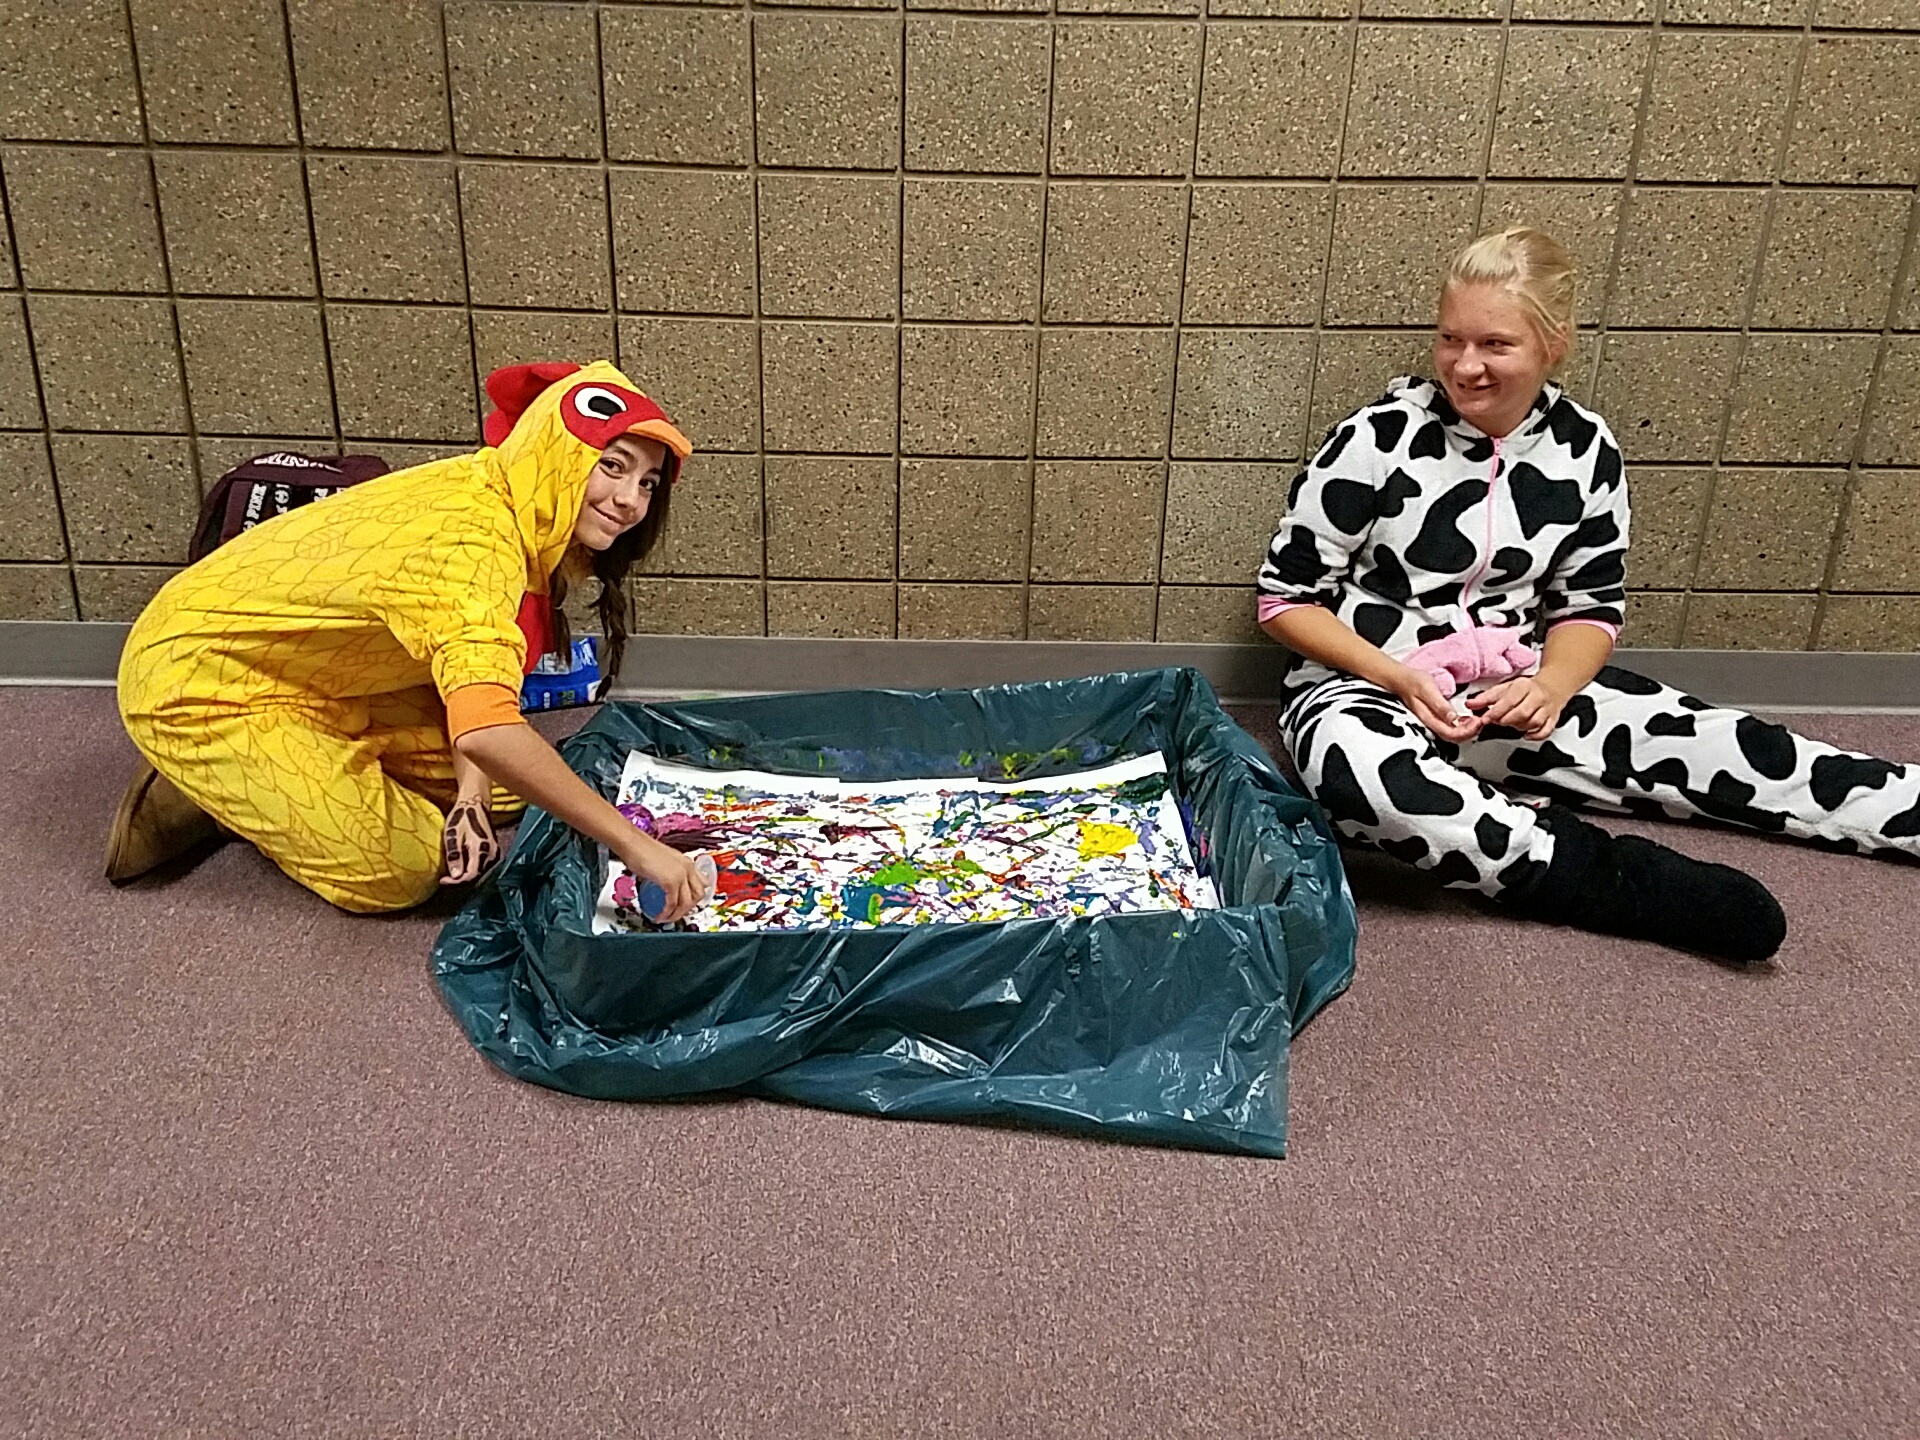
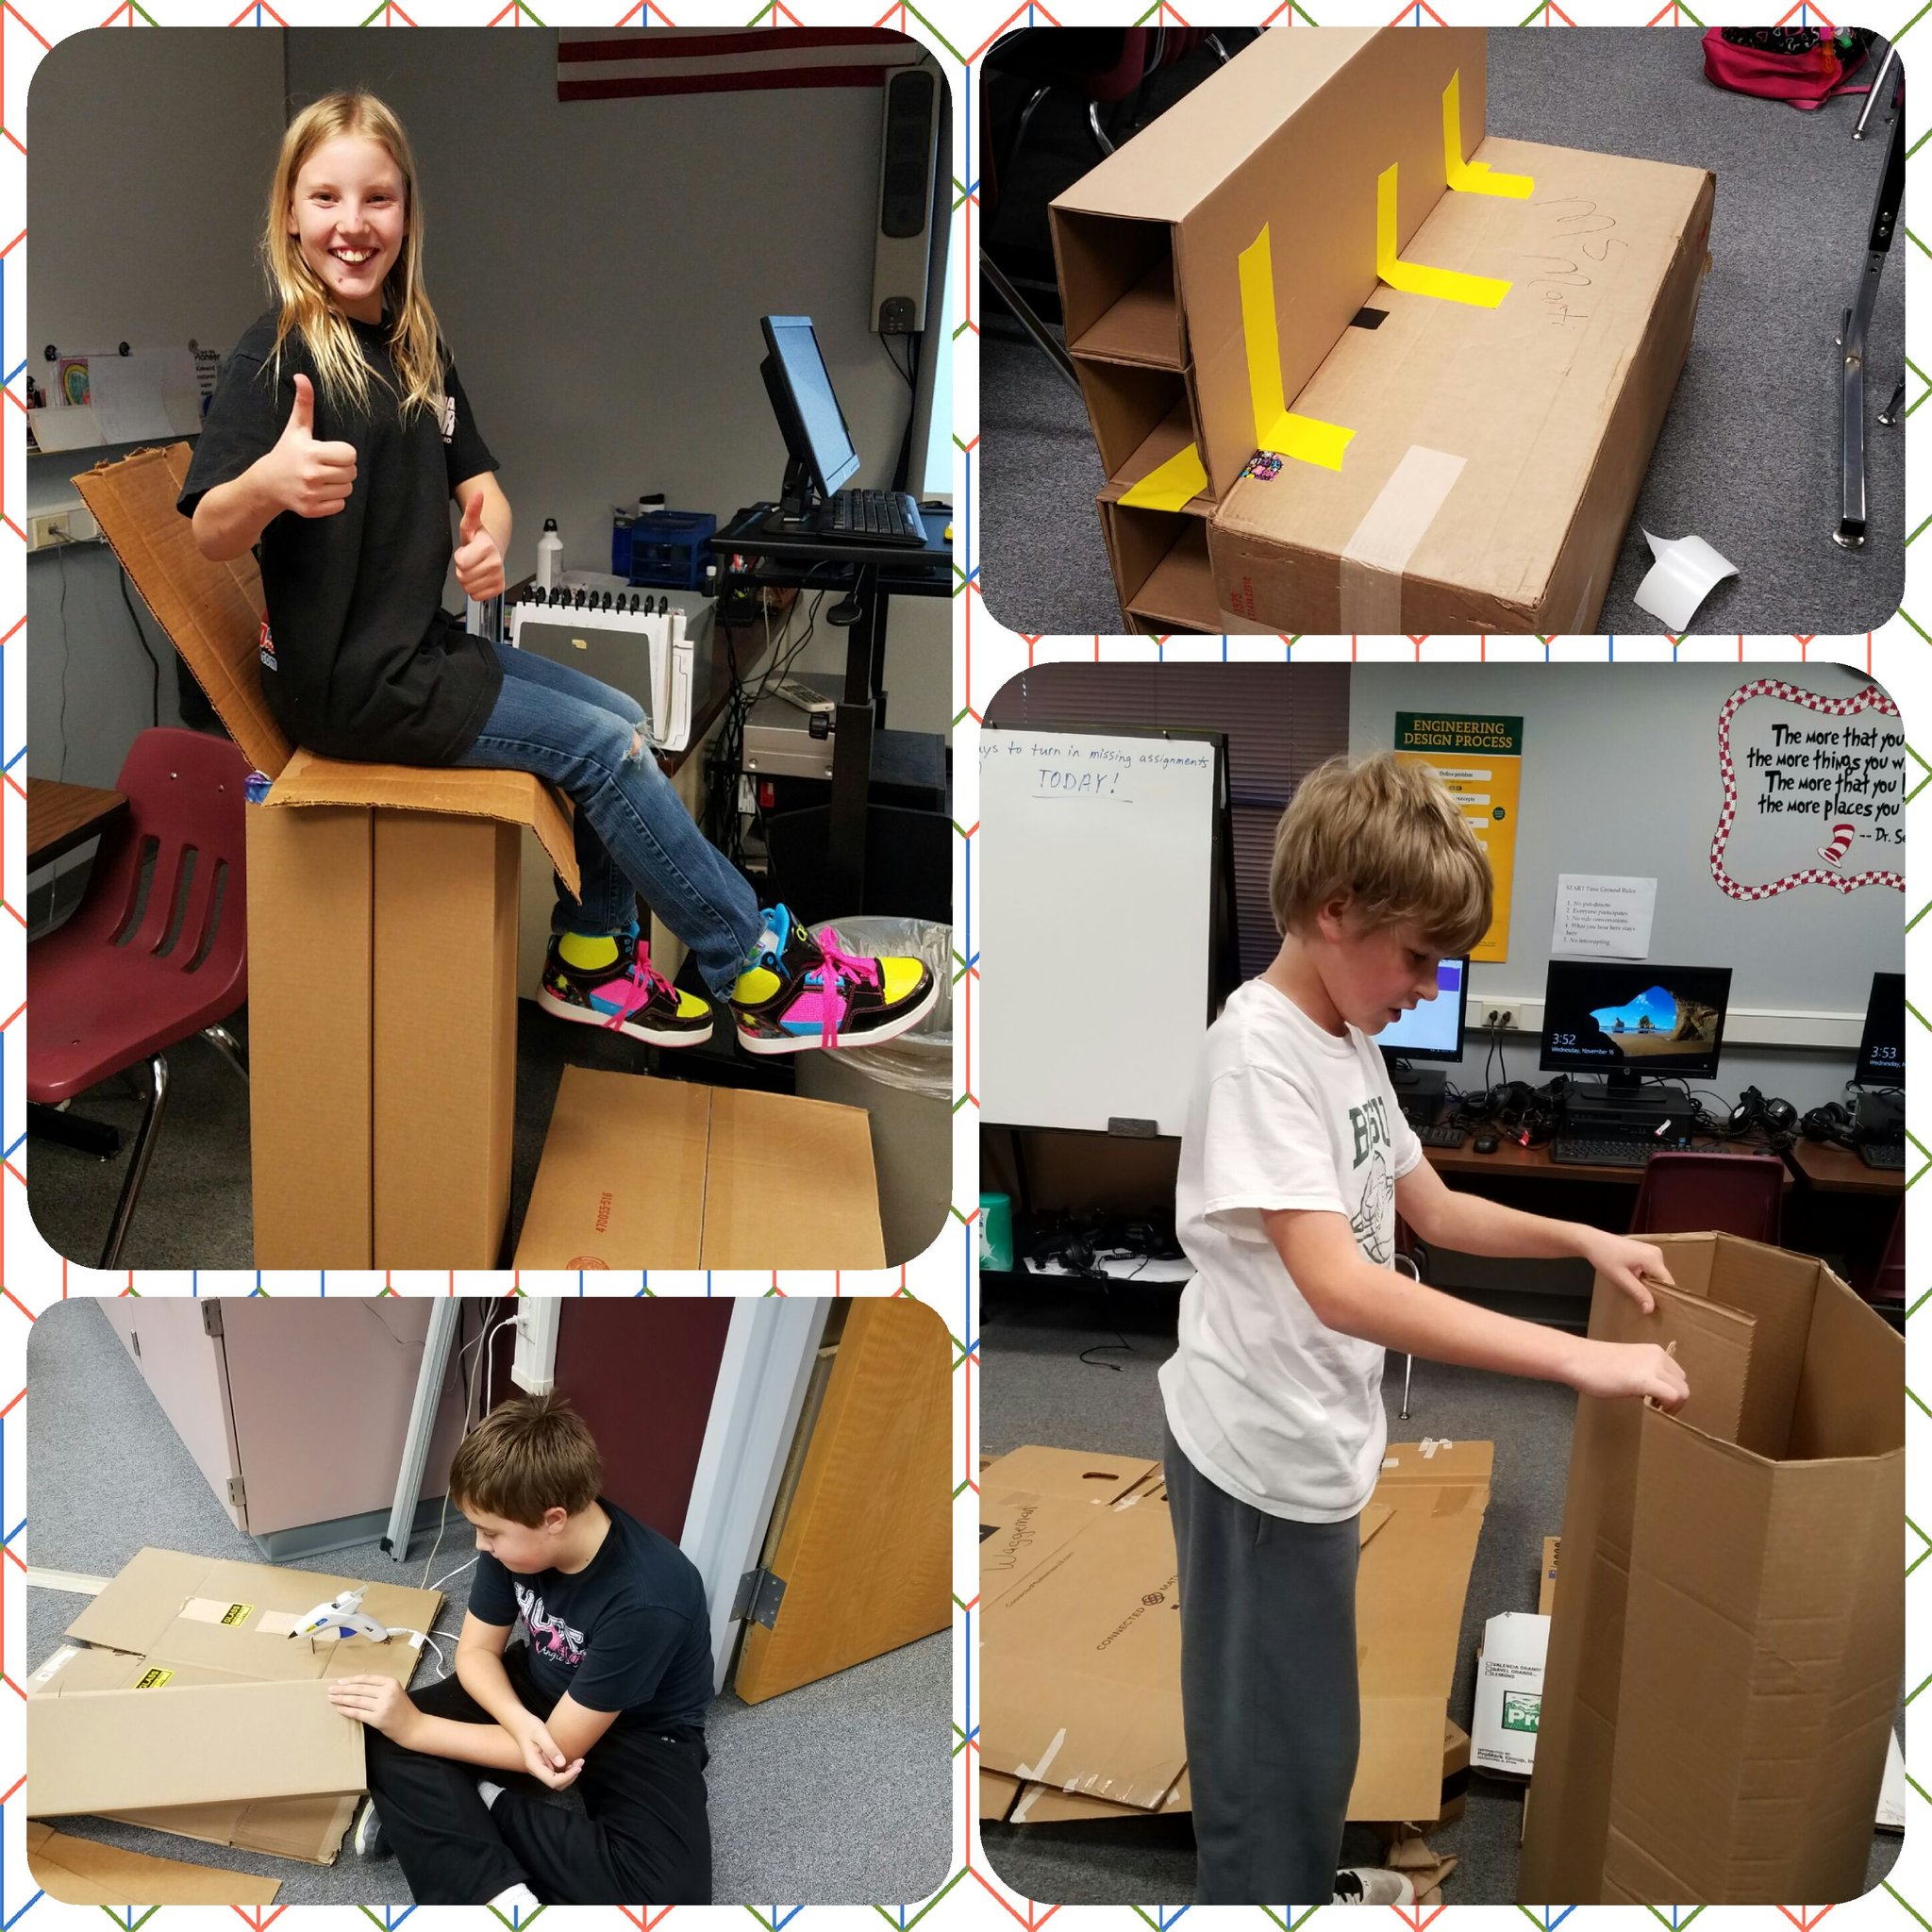
We created simple activities and supervised the sessions. We challenged students to build obstacle courses using wooden blocks, cardboard, fuzzy sticks and tape. With a piece of string taped across the hallway, students created straw balloon rockets with paper, tape, and a single balloon and straw. Using donated LEGOS, attendees could build whatever they desired.
[Creating a makerspace] is a team effort...I would encourage getting as many people on board as possible.We were able to move our makerspace into the library for its second year. Our new librarian, Monica Waugh, helped create a designated maker area and worked throughout the year to make the library an inviting place for everyone. It was a team effort, though, and I would encourage getting as many people on board as possible.
Getting the good stuff
As the makerspace grew, I knew we needed to invest in better materials, and for that I needed help. Funding for the start of our makerspace came from a grant I received from the Spearfish Foundation for Public Education with support from the Spearfish Community Foundation.
I also relied on Donors Choose, where teachers can get materials donated. One of the most popular items we received through the site were our Sphero SPRK robots ($130/ robot). Free apps are available for multiple platforms to program and control these robots. They can handle drops, jumps, water, and paint. Our learners love to create obstacle courses and chariots for the Spheros.
NEWSLETTERS
STAY AHEAD IN EDUCATION.
Sign up for EdSurge newsletters for timely news, insights and analysis.
At the end of the first year, we surveyed our makerspace attendees to find out what was working. Based on survey results and discussion with learners, we selected new items and my team and I wrote two additional grants to the Spearfish Foundation for Public Education.
Through those donations, we were able to create a robust space, with plenty of options for students. Here are some of our tried-and-true favorites:
Ozobot. We started off with the Ozobot 2.0 Bit duo pack ($110). Students love to draw separate code and then try to connect them.
Makey Makey ($50). So many great project ideas for the Makey Makey are posted online. Some of our favorite builds are the banana piano, pencil pacman controller, and cardboard guitar.
littleBits. A great product for circuitry and limitless building potential. The kits vary from $40 to $5,000. In our Makerspace, we started with the STEAM student set ($300), a Space set ($149), and a basic student set ($274).
LEGOs or K’nex (try to get a donation from families!). LEGOs are great for building and are also a great tool to use with stop motion animations (we use Stop Motion Studio).
Cubelets ($160 for six cubes). Great because connecting the cubes and seeing how pieces interact is easy.
Bloxels ($250 for 5 pack set). With Bloxels, we are able to design games, apply coding skills, and be creative. Learners love creating the pixelated characters, backgrounds, and items. As the game designer, you can choose any content you want--informational or adventurous.
Squishy Circuits kits ($60 per kit). This is a great item to introduce learners to circuits. At our Makerspace, the dough material draws people in, and they are able to easily figure out how the lights or buzzers work.
HyperDuino kit ($95). Enables physical-digital interactive student projects with all the software, LEDs, touch sensors and a microcontroller to make it all work easily grades 2-12 and beyond. Here are some example projects made with the HyperDuino kit.
Polar 3D ($900). A cloud based 3D printer. We used our grant money to purchase this because so many students were designing prints with Tinkercad.
To provide more materials for open-ended projects, we also purchased duct tape, DC motors, a variety of batteries, LED lights, and copper tape. We also relied on digital favorites:
Minecraft Education Edition - paid software license required
Photoshop - paid software license required
PiskelApp - create pixel animated GIFs, free, download or share to others
PixlrExpress - edit photos
Google Drawings - create graphic designs, free, multiple collaborators
Canva - create graphic designs, pre-made content, easy to edit and share
Worth the wait—and effort
The biggest thing I learned is that you don’t need a large budget to pull a makerspace off. What you do need is space, materials for a few stations, and—most importantly— input from your learners. Last year at our middle school we had a little over 500 students. We recorded tracking and at each session until the end of the year, we had learners who had never been to makerspace before. Across all 22 sessions, our attendance logged over 400 entries of both newbies and regulars alike.
As we ended our second year of makerspace, students were requesting to have makerspace activities out in the library all the time and to be able to meet after school every day of the week. I think our students’ investment in our makerspace and its success demonstrate what a powerful impact making can have on a school. So even if you don’t start with robots, grab some LEGOs, tape, or paper and start making!
Teri Bauerly (@mrstbauerly) is a STEM Educator at Spearfish Middle School in South Dakota. For those who want to learn more about Making, Teri says Laura Fleming is a great resource. She highly recommend her book Worlds of Making: Best Practices for Establishing a Makerspace for Your School, a short but great read. She would like to thank John Dagit, Monica Waugh, Sarah O’Donnell, and Leslie Wangeman for their help and support with the makerspace.
This story is part of the EdSurge Fifty States Project (representing the state of South Dakota) and made publicly available with support from the Bill & Melinda Gates Foundation. The thoughts and opinions expressed here are those of the individual contributors alone and do not reflect the views of the Bill & Melinda Gates Foundation.
Popular on Edsurge
Voices of Change